Format Text Boxes
Bloom lets you control the formatting for text boxes on basic book pages.
Note: You can NOT change the layout for these types of pages:
Front or Back Cover pages
Title or Credits page
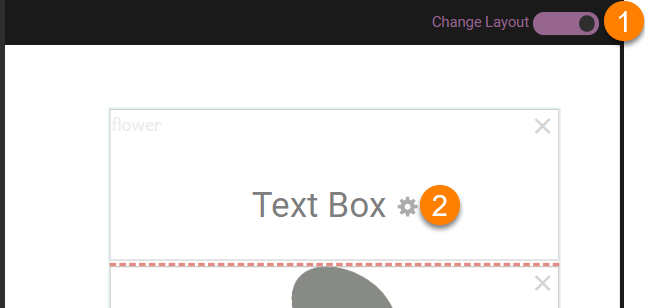
- Click the
Change Layouttoggle switch at the top right-hand corner of a page.- Bloom will make any text in the text box gray, and show a gray gear icon ⚙ in the center of the text box.
- Click the gray gear icon ⚙ to show the Text Box Properties dialog box.
- Make whatever changes you like to the text box settings.
- Click the
Change Layouttoggle switch to return to editing the page.
The Text Box Properties dialog box has three separate tabs:
We’ll look at each one below.
Text Box Language Settings
Every text box in Bloom is labeled as belonging to a certain language. When you are editing a book in Bloom Editor, Bloom indicates the language of each text box with a light grey “language tag” located in the bottom right of each text box.
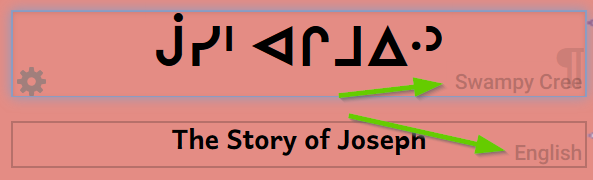
When you are making books in Bloom, it is very important that these language tags accurately correspond to the actual language written within each text box.
Make sure the text you type into a text box belongs to the language of the text box! If you are simply printing your book, having inaccurate language tagging will not negatively affect you or anyone else. But if you want to share your book through the Bloom Library 📕, accurate language tagging is crucial so that others will be able to find your book in the correct language category.
You can change the language (or languages) used for the whole book in the Collection Settings’ Languages Tab.
The Language tab
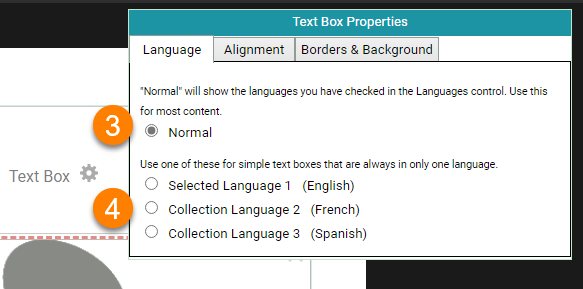
If you want a text box to always be in a specific language, you can do that with the Language tab.
Click the
Change Layoutbutton at the top right-hand corner of a page.Click the gray gear icon ⚙ in the center of the text box that you want to edit.
Choose Normal to let this field be controlled by the language settings in the Collection settings.
- (Note: This is distinct from the “Normal” text style: this setting in the Language tab will say “Normal” even if you have the text box set to a different style.)
If you want this text box to always display a certain language, choose Language 1, Language 2, or Language 3. (These are the same languages that are listed in the Collection settings.)
The Alignment tab
You can set text to align vertically within the text box.
- Click the
Change Layoutbutton at the top right-hand corner of a page. - Click the gray gear icon ⚙ in the center of the text box that you want to edit.
- Click the Alignment tab.
- Choose one of the vertical alignments:
top,centered, orbottom.

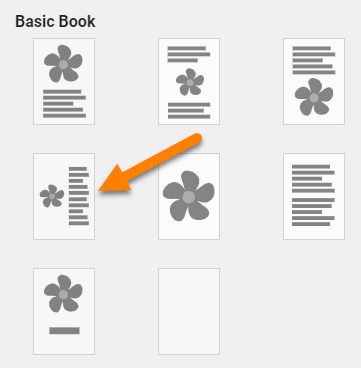
The “Picture on Left” page layout uses vertical centering by default.
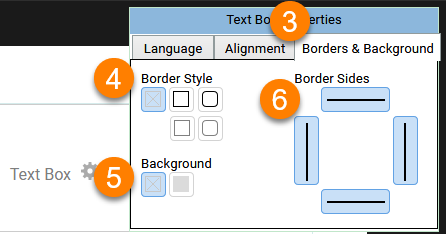
The Borders & Background tab
The Borders & Background tab allows you to put a black or grey border around your text box, which will show up on the printed page. Here we see a grey border with rounded corners around the text box.
Click the
Change Layoutbutton at the top right-hand corner of a page.Click the gray gear icon ⚙ in the center of the text box that you want to edit.
Click the Borders & Background tab.
Border Style: select whether the text box will have no border, or a black border, or a or gray border.
- The border can also have square corners or rounded corners.
Background: select whether the text box will have no background color, or a gray background.
Border Sides: choose which sides (if any) of your text box will have a border.