Repair a book that is incorrectly tagged with the wrong language
These notes outline the process for correcting a book that has been uploaded to the Bloom Library with the incorrect language code.
This process is intended for the Bloom Librarian or for a highly experienced Bloom support person with Bloom Enterprise status.
Be sure to use the latest version of Bloom Beta.
Sometimes, a Bloom book is uploaded with incorrect language codes.
For example, a book in Palaung, Rumai (code “rbb”), is uploaded to Bloom Library, but it was incorrectly tagged as Burmese (language code “my”).
The following procedure will correct the book's language code.
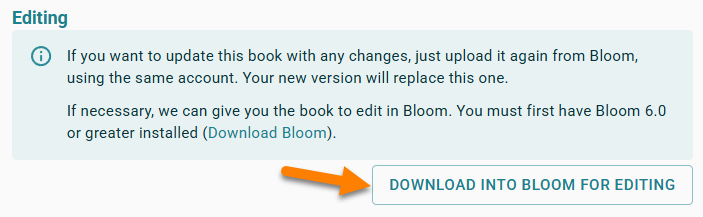
Step 1: Download the Book for direct editing
When you sign in to Bloom Library with an account authorized to directly edit a book, Bloom Library will grant you access to directly edit the book.
Step 2: Change the main language settings to the correct language code
Step 3: Verify Book Settings
In particular,
- Content Pages > Languages to show in normal text boxes must be set to the main language and the incorrect language must be deselected.
- Cover > Front Cover should show only the main language.
Step 4: Export the book to a spreadsheet
Select the book, and right-click to access the Export to Spreadsheet… function.
This operation requires a Bloom Enterprise subscription.
Step 5: Unhide row 1
Hover your mouse just above the number 2 until you see the symbol pointed to below:
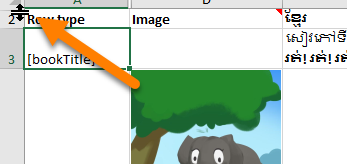
Click and drag the mouse to pull down and reveal row 1.
Step 6: Find the columns incorrectly tagged
Potentially, there are three:
- a column for the text;
- a column for the audio
- a column for the audio alignments
For example;
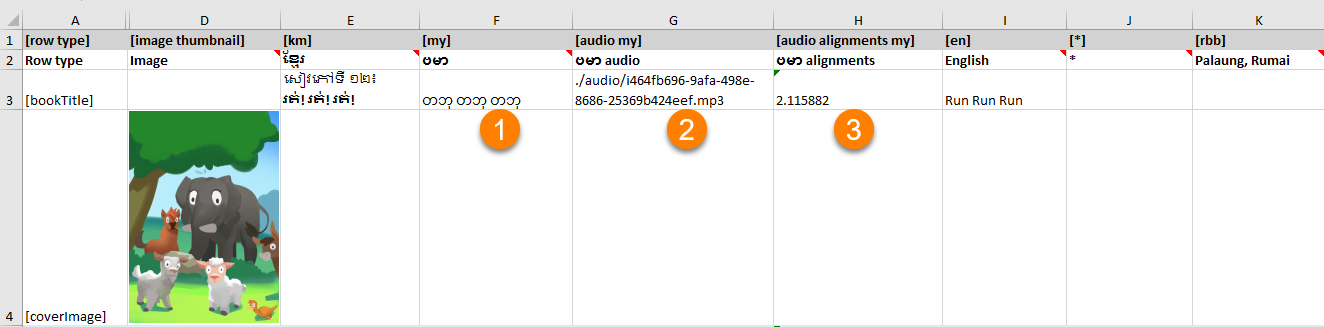
Step 7: Correct the language codes and descriptions
Put in the correct language code and descriptions for all columns incorrectly tagged, for rows 1 and 2.
For example, change “my” to “rbb” and “ဗမာ” to “Palaung, Rumai”:

Step 8: Change the empty column
There will be an empty column for the correct/target language. You should see “[blank]” in several of its cells.
You need to re-tag this empty column to match the original incorrect language tag. The reason for this is to remove all data that was previously incorrectly tagged in the book when you import the spreadsheet back into it.

:::🚧
Deleting this column will not do the trick!
:::
Step 9: Unhide the xmatter rows
Scroll to the last visible row. You should see a discontinuous number. This indicates there are hidden rows. For example:
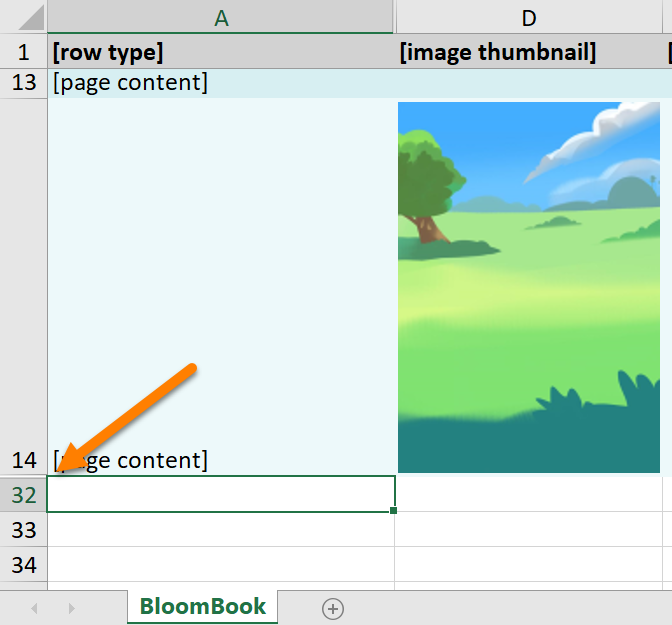
Select the last rows above and below, right-click, and choose Unhide
Step 10: Verify the xmatter pages
It’s hard to predict what you’ll find here, but generally speaking, the credits and licensing should mostly appear in the [*] column, with some other data appearing in the column for whatever national language the book is written in.
Step 11: Import the spreadsheet
Import the spreadsheet back into the same book to update it.
Note: a backup of the original book will be placed in:
C:\Users\USER NAME\AppData\Local\Temp\bloom pre-import backups
Step 12: Verify the book
Verify each page of the book, including audio.
Step 13: Upload to Bloom Library
If everything went as expected, under “Text Languages” you should not see the wrong language listed, and the upload should find a match to the original book.