Prepare to Record Audio
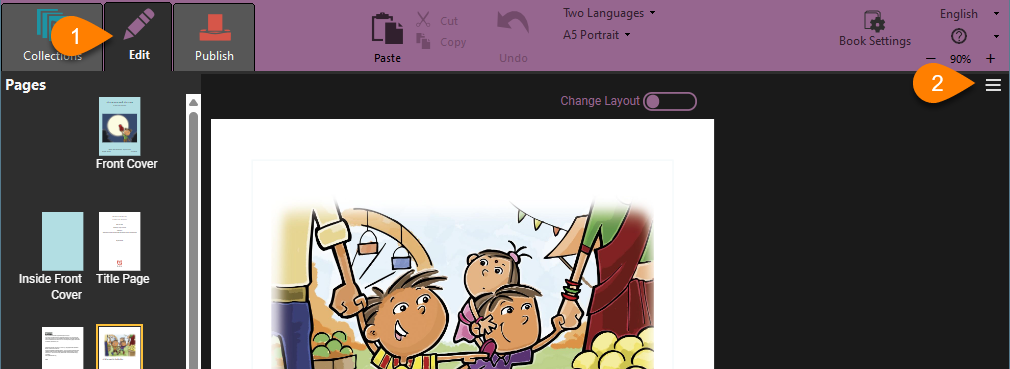
Open the Talking Book Tool
To make a talking book,
- Open the book for editing.
- On the right side, open the
tool panelby clicking on the three lines. - Click on the
Talking Book Tool.
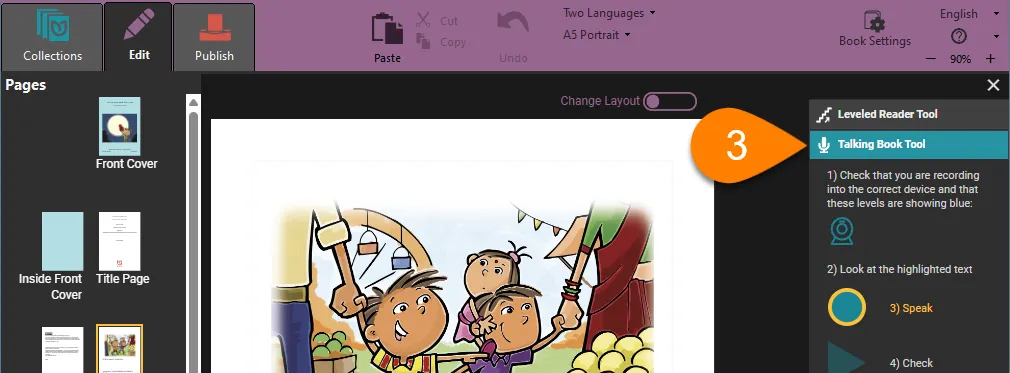
Identify your microphone
In the Talking Book Tool, you should see a microphone icon. This shows that Bloom has found your microphone.
Bloom shows an icon indicating the source from which it will record sound. You may see one of the following icons.:

External microphone

Headset microphone

Webcam

Laptop computer microphone

Line audio

Digital recorder
If Bloom cannot find any microphones to use, it will display a warning sign.
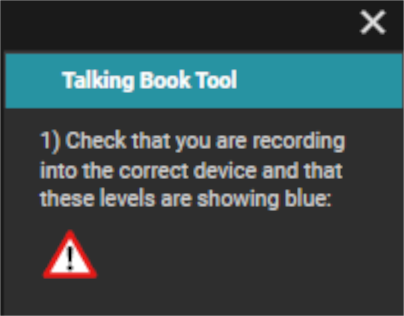
If Bloom cannot find a microphone, or if it is not using the microphone you want to use, open your computer’s Settings or Control Panel and find the Sound settings. Look for the Input section of settings, and select the microphone you want to use.
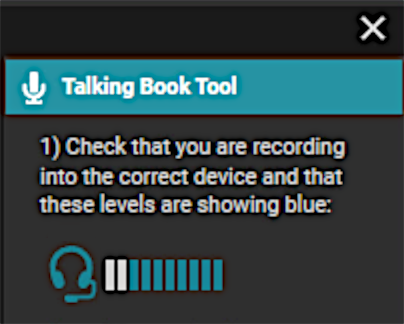
Test your microphone
If your microphone is working, as you speak, you will see bars next to the microphone or laptop icon. The number of bars highlighted depends on how loud you are speaking. Once your microphone is set up, you are ready to record.
Recording Mode
Bloom provides two modes for recording audio:
By SentenceBy Whole Text Box
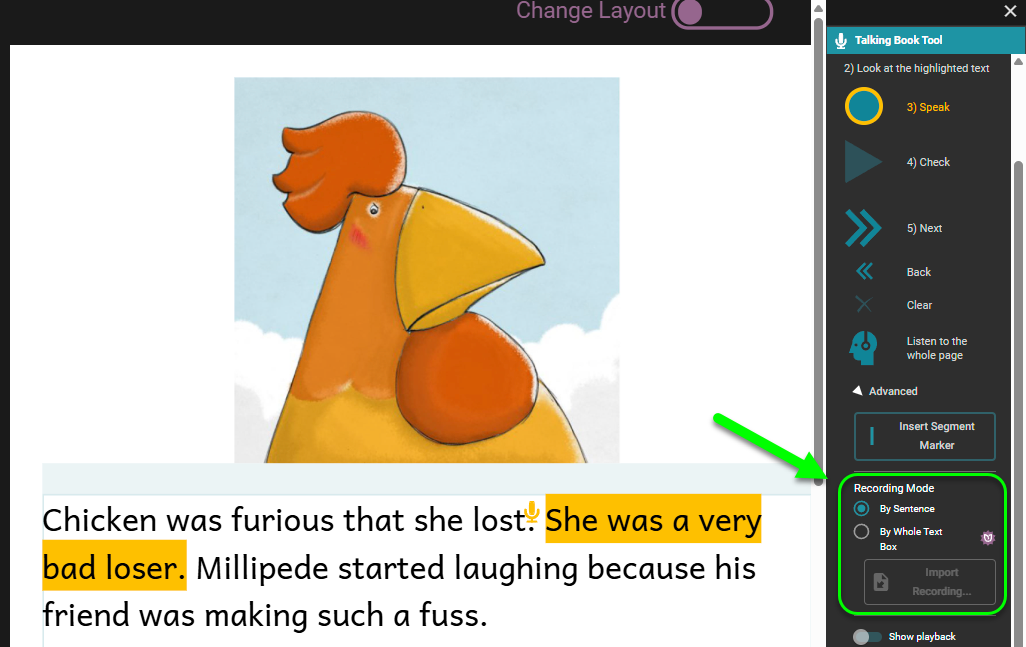
The default recording mode is By Sentence. In this recording mode, you record one sentence at a time. This recording mode is available to all Bloom users.
Recording By Whole Text Box is an advanced Bloom feature available for Bloom subscribers. In this mode, you record all of the text in a given text box at one time.
If you change the recording mode, Bloom remembers that preference and will keep it until you change it.